Generating a report with Skeleton·ID
Once we have made the decision, we can generate an automatic report on the case. To add screenshots of the case in the report, we must click on the option “add screenshots” in the SFO image capture tab (Figure 1) that will appear just below the criteria tab.
 Figure 1. Image capture tab.
A pop-up window will appear (Figure 2) where we can select the screenshots that we have taken in each scene of the virtual laboratory, relative to the cephalometric points, the craniometric points and the skull-face overlays.
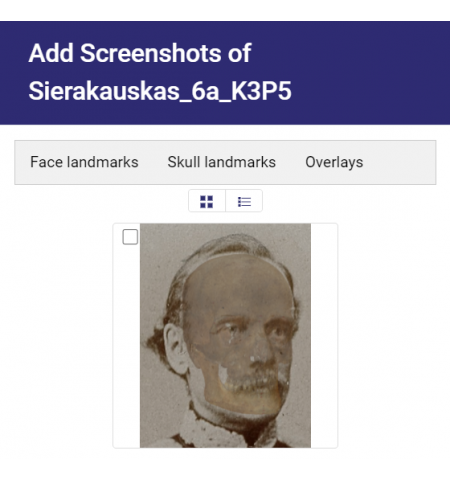 Figure 2. Screen capture selection window for each scene in the virtual laboratory.
 Figure 3. Added screenshots regarding cephalometric, craniometric landmarks and skull-face overlay.
Once the decision making has been made and the captures that we want to include in our report have been added, we must select the “save” option (Figure 4) in the upper right corner of the decision-making screen. By means of the “close” button, the report will be concluded, and we will not be able to modify the data entered in the decision-making process again.
 Figure 4. Options to save all the data entered in the decision making and to generate an automatic report.
Once we have saved our report, the option “download” will appear available (Figure 5), which will generate an automatic report in .PDF with all the information that we have previously entered in the forms referring to the file, the AM and PM case and with the decision making and screenshots that we have attached.
 Figure 5. Option to download the report enabled once it has been saved.